Week 5 Editing
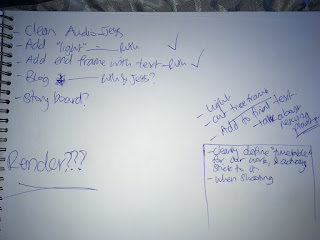
To begin with we outlined and split up all the jobs we'd need to do for editing.
Ruth: overall editing (pace/ timing/ combining audio with video using L/J cuts ect), colour correction, colour grading, visual effects, cropping/fixing source video.
Jess: sourcing music, sound effects, cleaning audio, fixing volume, fern logo.


L and J Cuts:
After I'd done this I went back to editing the pace as I felt it just needed a little more work. I went back to the research examples of ads we'd done in the first few weeks and noticed I'd completely forgotten about using L and J cuts in the audio to help connect the flow between cuts. So I went back through and after adding these in I was able to cut back even further on some of the unnecessary video clips by overlapping sound. This resulted in having a faster-paced, and therefore more attention grabbing video.
I used these techniques in 4 places which can be seen below:

Cropping Video Images (Scale/Proportion/Movement Editing):
In class on monday we showed Jason what we'd done so far, one of the key things he pointed out to me was the fact I hadn't really cropped any of the videos themselves. He showed me how to keyframe movement and scale just like in AfterEffects and so I began cutting the frames and trying to make it look like natural camera movement (I think this was a success as Jason didn't realise it wasn't actually camera movement the next time I showed him.)
Examples of this below show the importance of cropping to have a better frame view around the character, and also removing distracting bright colours and objects around the edge of the frame that I didn't notice while shooting. As whole this makes each scene and frame appear more cohesive and helps us control what the viewer sees as a main focus point.


One of the downsides of this is that we had to compromise by giving up quality of the image by doing this. Which for the time restraints of this project is fine, but if we had the opportunity it would've been nice spending more timing getting the perfect shots straight out of camera, so we could keep nice quality imaging throughout the video.
One of the factors we wanted in our video was an end screen with text and an image. I created the image of a fern to include in the video, on Photoshop.

Music
The music I gathered was from bensound.com a website that provides some paid, some free music that is also royalty free. We decided on the songs to use together and made them fit the personality, and the timings of the video.
Sound Effects
The sound effects such as the censor beep and the light switch were gotten off freesound.org, another royalty free website.
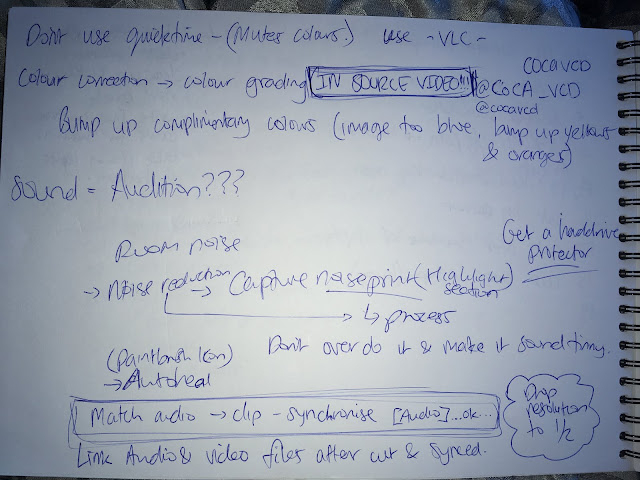
Fixing Audio
Being on the task of audio and having never used Audition before, I thought I would struggle more. But with a few notes from Jason's lecture I managed to, turn the audio of the music and some of the talking down, fix any large random sounds.
Ruth: overall editing (pace/ timing/ combining audio with video using L/J cuts ect), colour correction, colour grading, visual effects, cropping/fixing source video.
Jess: sourcing music, sound effects, cleaning audio, fixing volume, fern logo.


Ruth:
One of the first things I picked up from the comments of our presentation was the lack of flow between each video. So the first thing I did was cut back the excess time on each video. Then once I'd gotten the music from jess I overlaid this onto our video and began matching up the cuts and speech to match with the base notes in the music. It was at this point I started to feel the whole piece starting to come together and feel like we were getting somewhere.
Image Editing/ Colour Correction/ Grading:
Once I was feeling better with the pacing I swapped over to working on the colour correction.
Basically what our main problem was, was trying to make our inside and outside shots feel like they were shot under the same lighting. Jess and I discussed and decided that to match with the 'Cheesy advert' style of the old-spice ads we were going to keep the naturally warm, bright lighting of the outside shots and change the inside ones to match this. I also played with the contest and exposure of all the shots and treated them as I would a photograph to make them pop a little more. Example of differences can be seen in these two images below.


L and J Cuts:
After I'd done this I went back to editing the pace as I felt it just needed a little more work. I went back to the research examples of ads we'd done in the first few weeks and noticed I'd completely forgotten about using L and J cuts in the audio to help connect the flow between cuts. So I went back through and after adding these in I was able to cut back even further on some of the unnecessary video clips by overlapping sound. This resulted in having a faster-paced, and therefore more attention grabbing video.
I used these techniques in 4 places which can be seen below:

Cropping Video Images (Scale/Proportion/Movement Editing):
In class on monday we showed Jason what we'd done so far, one of the key things he pointed out to me was the fact I hadn't really cropped any of the videos themselves. He showed me how to keyframe movement and scale just like in AfterEffects and so I began cutting the frames and trying to make it look like natural camera movement (I think this was a success as Jason didn't realise it wasn't actually camera movement the next time I showed him.)
Examples of this below show the importance of cropping to have a better frame view around the character, and also removing distracting bright colours and objects around the edge of the frame that I didn't notice while shooting. As whole this makes each scene and frame appear more cohesive and helps us control what the viewer sees as a main focus point.


One of the downsides of this is that we had to compromise by giving up quality of the image by doing this. Which for the time restraints of this project is fine, but if we had the opportunity it would've been nice spending more timing getting the perfect shots straight out of camera, so we could keep nice quality imaging throughout the video.
This is a quick render of where my editing has gotten us to so far.
Jess:
LogoOne of the factors we wanted in our video was an end screen with text and an image. I created the image of a fern to include in the video, on Photoshop.

Music
The music I gathered was from bensound.com a website that provides some paid, some free music that is also royalty free. We decided on the songs to use together and made them fit the personality, and the timings of the video.
Sound Effects
The sound effects such as the censor beep and the light switch were gotten off freesound.org, another royalty free website.
Fixing Audio
Being on the task of audio and having never used Audition before, I thought I would struggle more. But with a few notes from Jason's lecture I managed to, turn the audio of the music and some of the talking down, fix any large random sounds.

Comments
Post a Comment